Measured layouts and renders for interior design and renovation.
Draw the room to its dimensions, place furniture and wall decor at their real size and choose the floor finish. Your client sees the 3D first, then a photo-like render of the same frame; in a renovation, you discuss the new space and the quantities on the plan before the wall comes down.
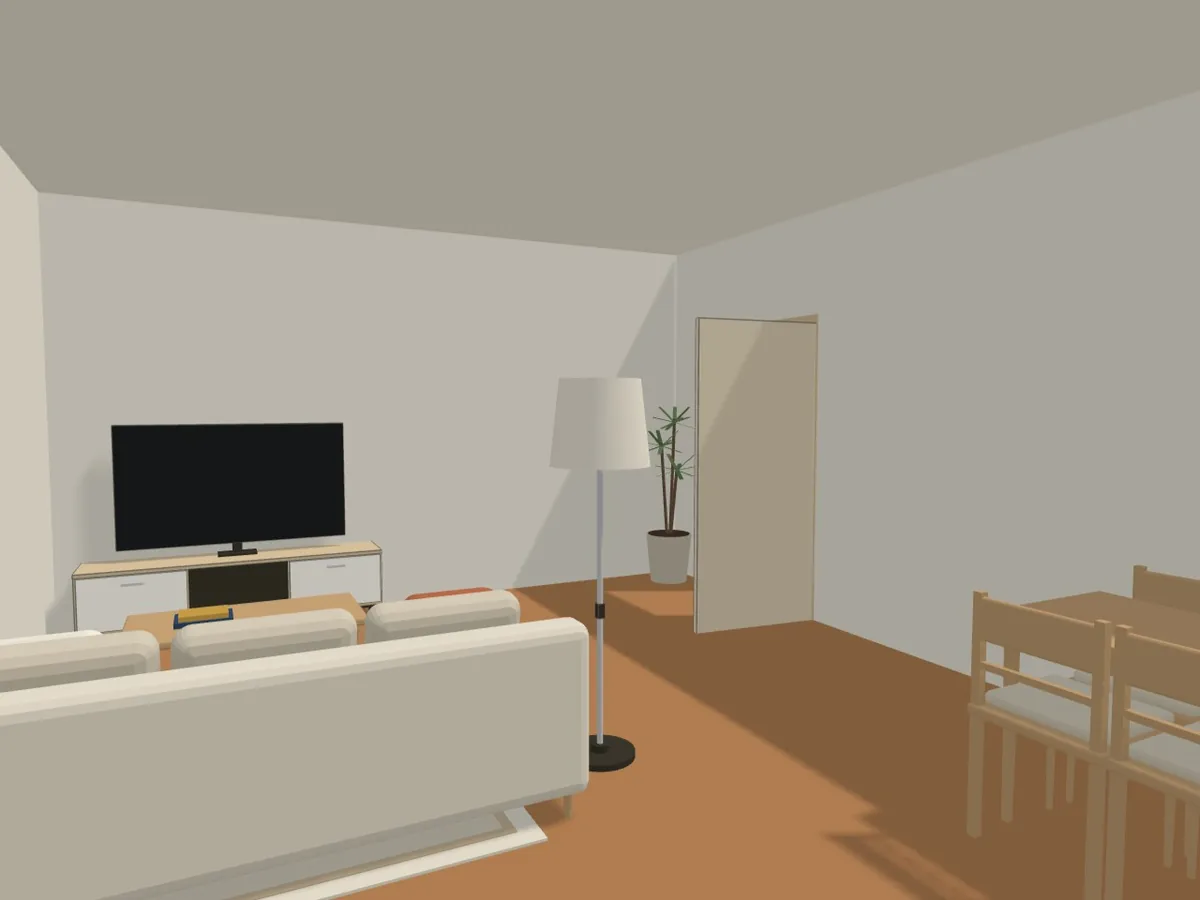
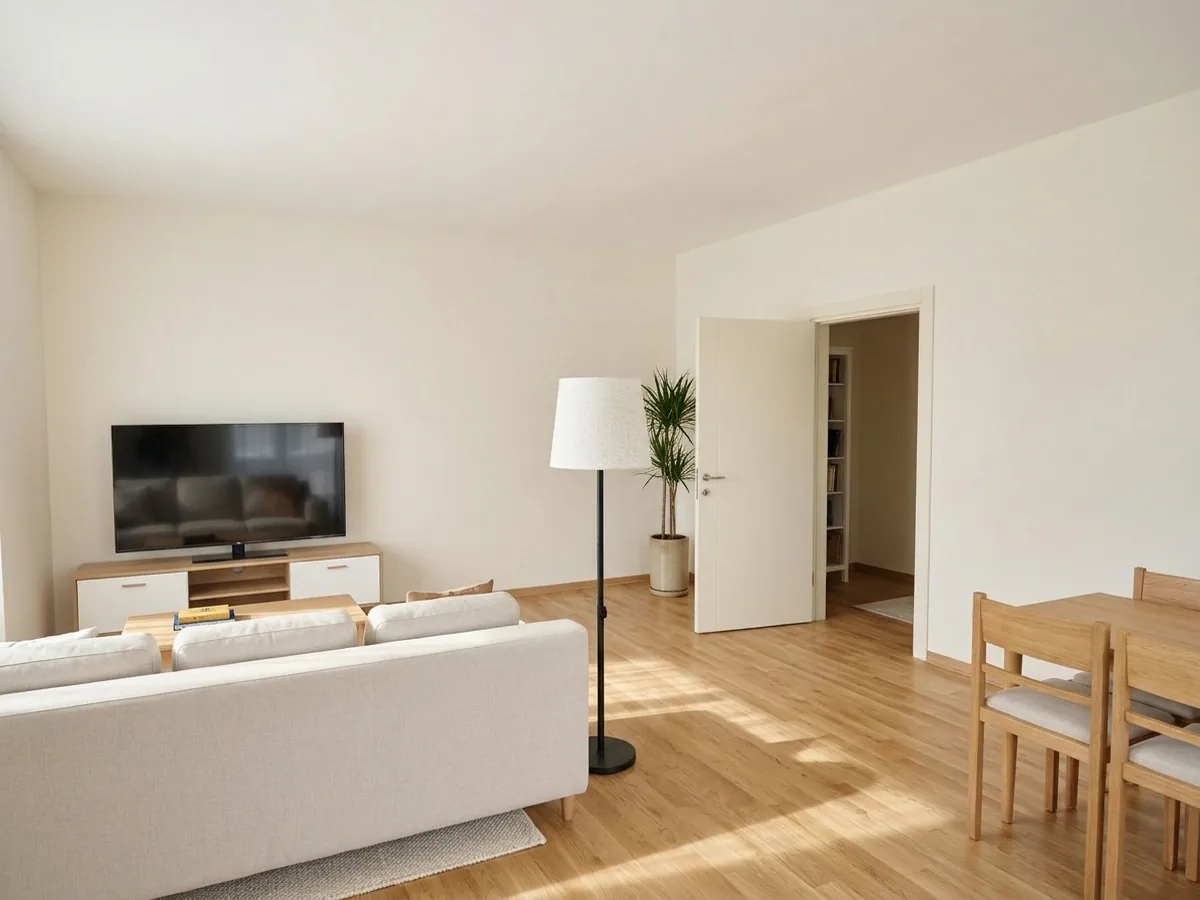
Show clients layout options on a measured plan
In a presentation, “will this sofa fit?” gets an answer in centimeters. Furniture is at its real size, door swings and passages are on the plan; put two options side by side and decide together with your client.
460 measured objects, 21 categories
Sofas, beds, kitchen and bathroom modules, floor lamps, rugs, plants and decor: all drawn to the centimeter, and the same size in 3D. 70 objects are free and 374 are in Plus; 15 designer decor objects such as an olive tree, a bioethanol fireplace and a marble console are in Pro. You change each object's width and depth in the right panel to match the product's dimensions. Furniture library →
Add your own product Plus
If the product you picked isn't in the library, use Custom object to give it a name, dimensions, height, color and shape. It stays in your own library and appears at that size in 3D.
Layout check Free
In the Furniture step the plan flags it for you: furniture inside a door swing, a passage narrower than 50 cm, a cabinet door without 55 cm in front of it, a dining table without 75 cm around it, tall furniture blocking a window.
Option A, option B
To show the same room with two different layouts, duplicate the plan from My account › My projects Plus and try the new layout in the copy. You can keep 5 saved projects on Free, 10 on Plus and 50 on Pro; Ultimate has no limit. The client sees the two plans or two 3D views side by side and decides based on real dimensions.
Share with the client
Send the plan as a PNG (on Free the image carries a small Nodaform signature, on Plus and above it doesn't) or get a scaled PDF sheet on Plus. If you share it, the person who signs in with the email address you invited can view the plan or comment on it; on Pro, someone you give Editor access can edit the plan.
Sockets and lighting Plus
Once the furniture is in place, mark the sockets, switches and lighting points to match; you hand the electrician a measured electrical plan. MEP layer →
Wall décor: hang paintings, mirrors and the TV at the right height
Every wall-hung object knows its height from the floor. The plan makes clear what's on the wall, and in 3D the client sees the picture at eye level.
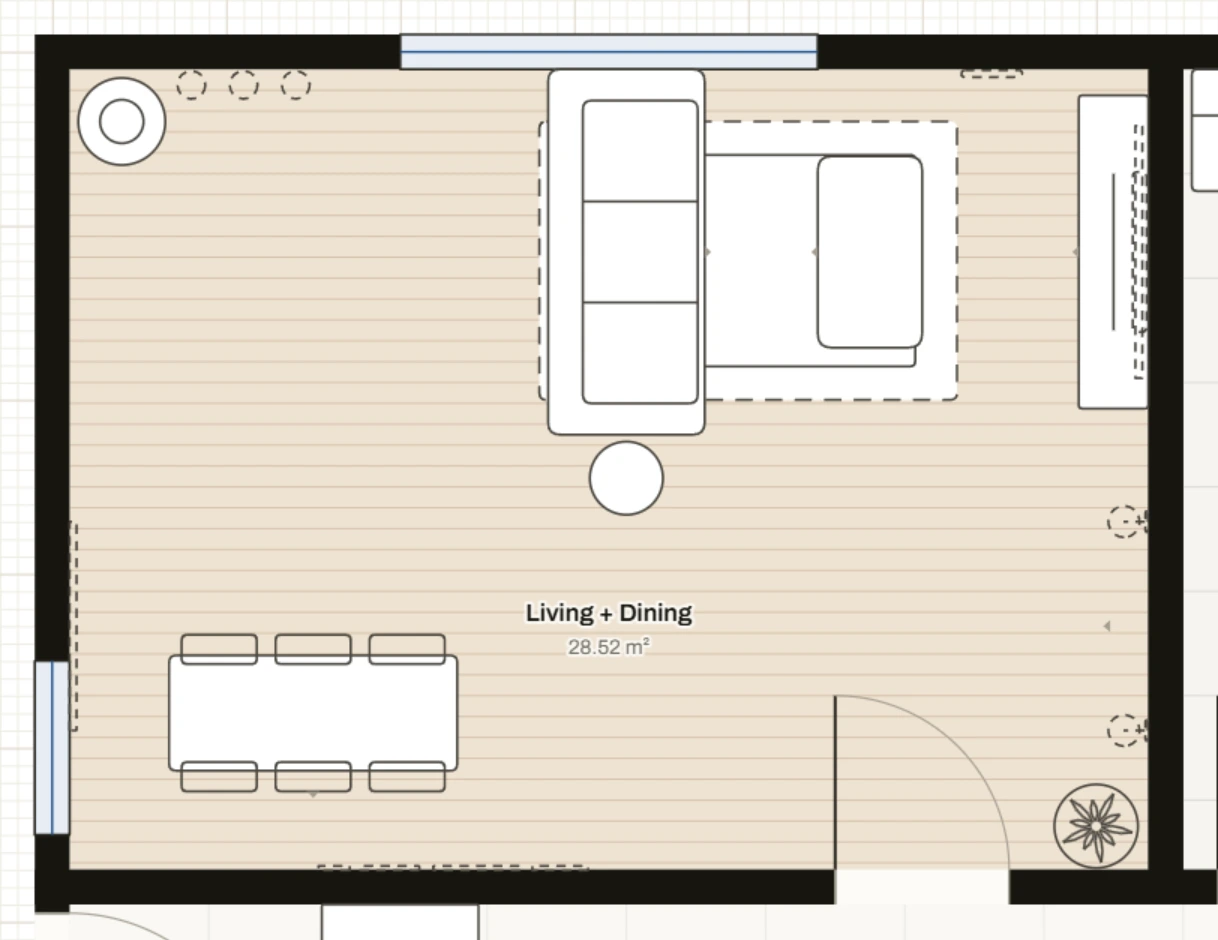
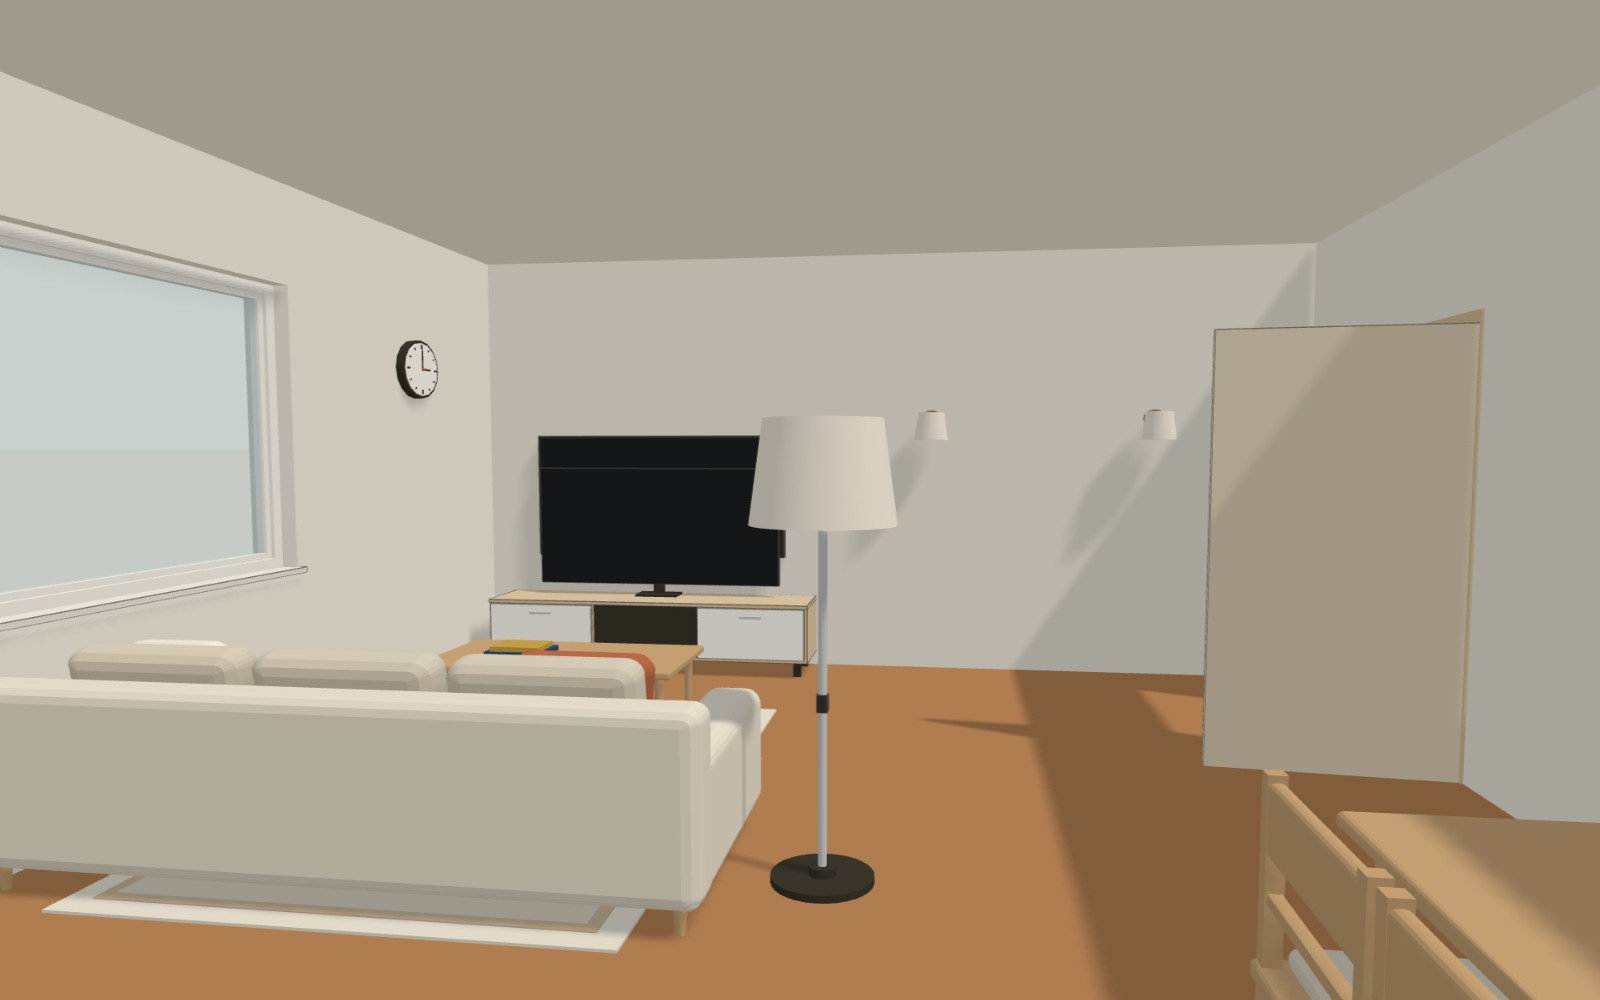
Dashed lines on the plan
Pictures, mirrors, clocks, shelves and sconces are drawn with dashed lines on the plan; the contractor reading the plan knows what's on the wall.
Height from floor (bottom edge)
You type the height of each wall object's bottom edge above the floor in the right panel; it sits at that height in 3D and in the section.
20 wall decor items
Gallery wall, large canvas, round mirror, wall-mounted TV and soundbar, pair of sconces, acoustic wood slat panel… 5 are free, 10 are in Plus and 5 in Pro.
Which height is common? The post How high should you hang pictures and mirrors? has common dimensions for a picture above the sofa and for a TV wall.
Floor finish: parquet, ceramic tile and marble on the plan, in 3D and in the render
Choose each room's floor finish in the right panel. The choice shows up in three places at once: on the plan, in 3D and in the render. The client sees the difference between parquet in the living room and tile in the bathroom during the presentation. Plus
- Finishes
- Laminate flooring, solid wood flooring, ceramic / granite, marble, carpet, epoxy / screed
- On the plan
- A light tint and pattern: strips for parquet, grout lines for tile and marble
- 3D
- In the finish's color
- Render
- Added to the request as the room's floor
- Quantities Pro
- Floor finish and wet-area wall tile in m²
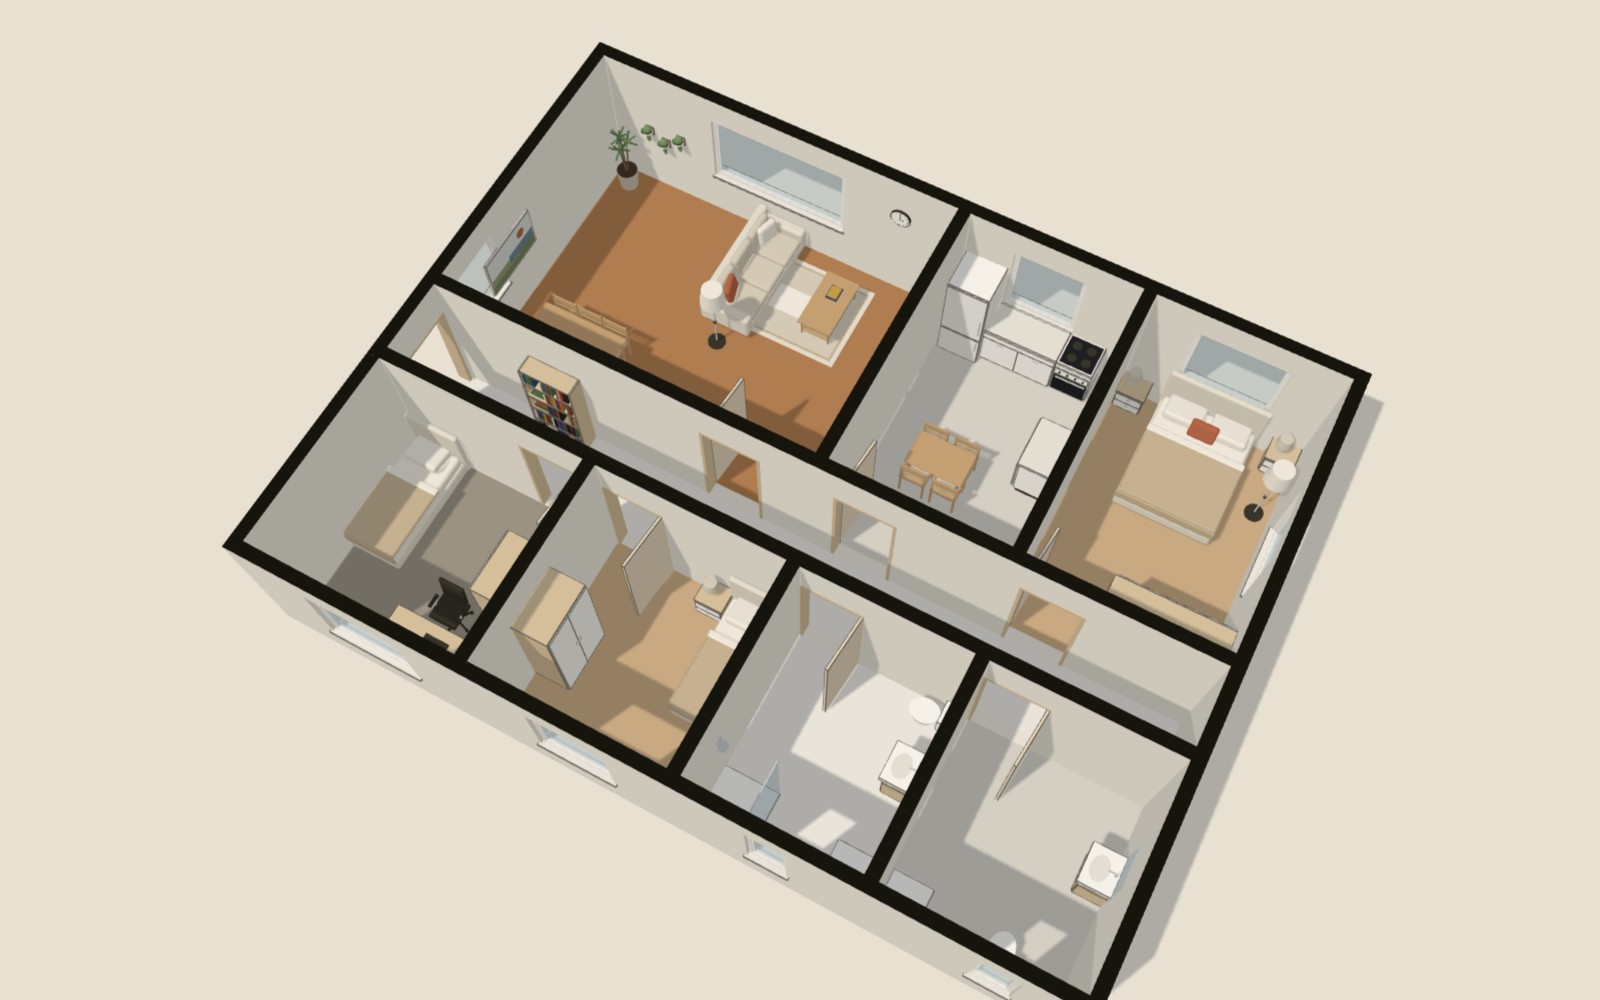
Renovation plan: see the new space and quantities before you remove a wall
Opening the kitchen to the living room, joining two small rooms… First draw the current state to its dimensions, then try the new layout in a copy. You talk to the client and the contractor with two measured plans, not just words.
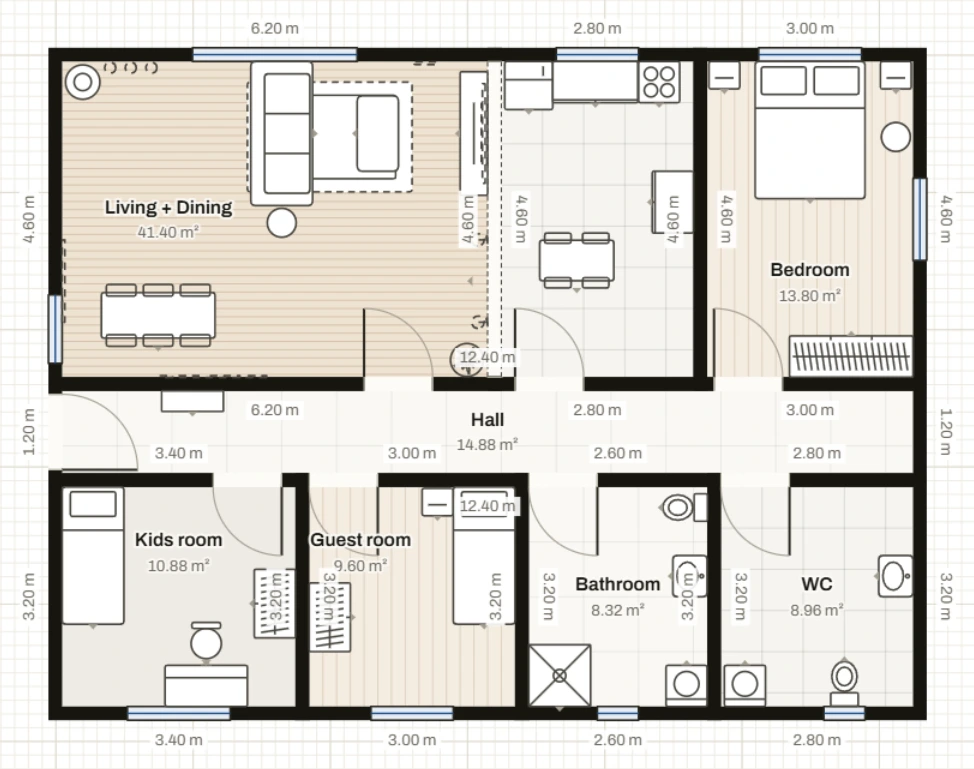
- 01Draw the current state. Type the rooms' interior dimensions; the walls are added outside, and each room's area is written on the plan. Free
- 02Make a copy. Duplicate the plan in My account › My projects; one becomes “before”, the other “after”. Plus
- 03Remove the wall. Select the room and join it to the neighboring room with Merge in the right panel: the wall between them opens up to the ceiling, and the plan shows the two parts with one name and the total area. Free
- 04Get the quantities. Square meters of interior plaster, paint, floor finish and wet-area wall tile, plus door and window counts, come from the plan. Pro
- 05See the budget. The cost estimate multiplies each item by a unit price; you change the prices yourself, and the region is Türkiye, the US, Europe or the UK. Pro
The plan can't tell you whether a wall is load-bearing; ask a civil engineer on site. Quantities and cost are for information only and don't replace construction documents or an on-site estimate. For an example before/after plan, see the post Renovation floor plan; for the details of the calculation, see the Cost Estimate page.
AI render: a photo-like interior image from a 3D frame
Frame the room from any angle in 3D, then choose the style and lighting. Furniture, doors and windows come from the plan; the floor finish you chose for the room is added to the request too. Pro
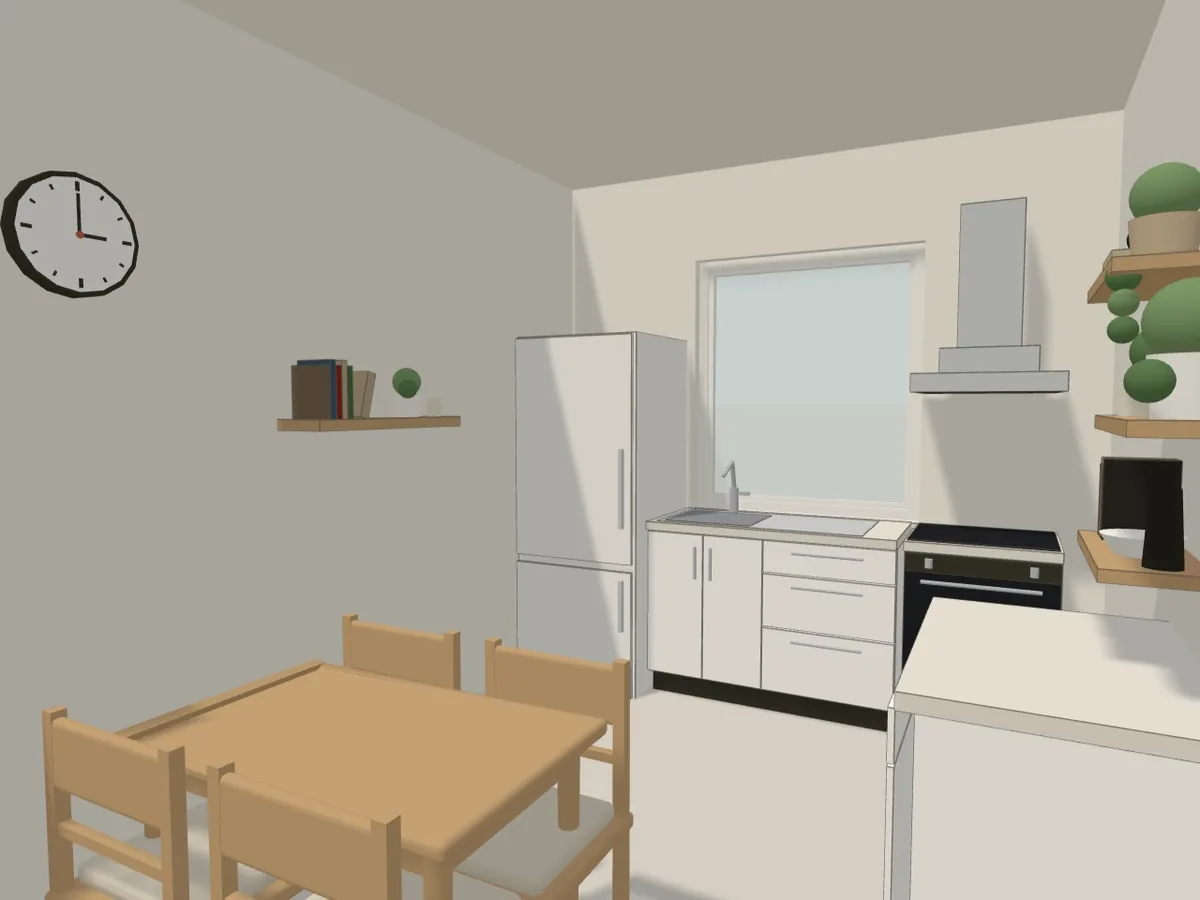
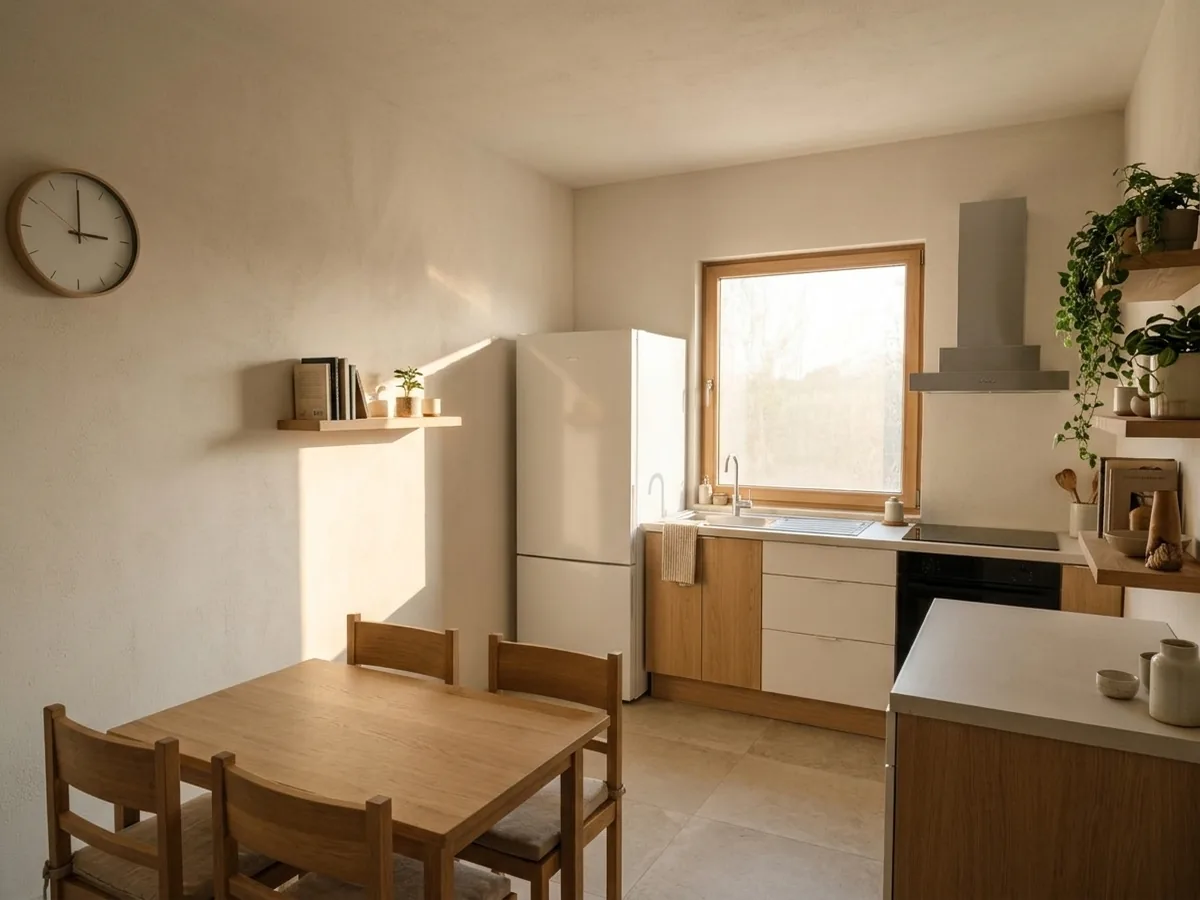
- Style
- Modern, Scandinavian, classic, industrial, Japandi, farmhouse
- Light
- Daylight, sunset, evening
- Reference image
- Up to 6 images in the request (material, furniture, color sample), each with a short note
- Monthly allowance
- Pro 20 renders · Ultimate 50 renders, with a 2K option (counts as 2)
- Render credits
- When your allowance runs out: 10, 30 or 50 renders; one-time purchase, valid for 12 months (Pro and Ultimate)
- Interior walkthrough
- Walk through the rooms at eye level in 3D Pro
- Privacy
- The frame and reference images are sent to Google for processing; neither they nor the result are stored by us
Do your next presentation with a measured plan.
Create a free account, draw the room to its dimensions and place the furniture. No install; 3D of a single floor is free, render and quantities are in Pro.
No credit card needed · No install · Paid plans are paid through Paddle
Frequently asked questions
The furniture my client picked isn't in the library. What do I do?
Put the closest object on the plan and change its width and depth in the right panel to the product's dimensions. On Plus and above you can also add your own object with the Custom object button, giving it a name, dimensions, height, color and shape; it appears at that size in 3D.
Can I give the render a material or color sample?
Yes. On the Pro and Ultimate plans you can add up to 6 reference images to a render request and write a short note for each, such as a material, furniture or color sample. The floor finish you chose for the room is passed to the render too. The images are sent to Google (Gemini API) only for processing; neither they nor the result are stored by us.
How many square meters will the room be after removing the wall, and how do I see it?
Select one of the rooms and join it to the neighboring room in the Merge section of the right panel. The wall between them becomes an open passage up to the ceiling, and the plan shows the two parts with one name and the total area. The plan can't tell you whether a wall is load-bearing; ask a civil engineer on site.
Which plan includes quantities and the cost estimate?
The Pro and Ultimate plans. Quantity take-off pulls the square meters of interior plaster, paint, floor finish and wet-area wall tile, plus door and window counts, from the plan; the cost estimate multiplies each item by a unit price (prices for Türkiye, the US, Europe and the UK). The result is a starting point for a budget and doesn't replace an on-site estimate.
How do I show the plan to my client?
You can download it as a PNG and send it (on Free the image carries a small Nodaform signature, on Plus and above it doesn't); on Plus you also get scaled PDF sheets. If you share the plan, the person who signs in with the email address you invited can view it or comment on it; on Pro, someone you give Editor access can edit the plan.